Gamalogic Email Validation Integration with Intercom
Overview
This documentation provides a complete technical guide for integrating Gamalogic Email Validation with Intercom. Gamalogic and Intercom integration enables marketers, developers, and automation teams to maintain high quality email subscribers and improve campaign performance by seamlessly validating contacts stored in Intercom. Through secure OAuth2, Gamalogic import your Intercom subscribers, identifies invalid or risky email addresses, and updates your subscribers with actionable validation results.
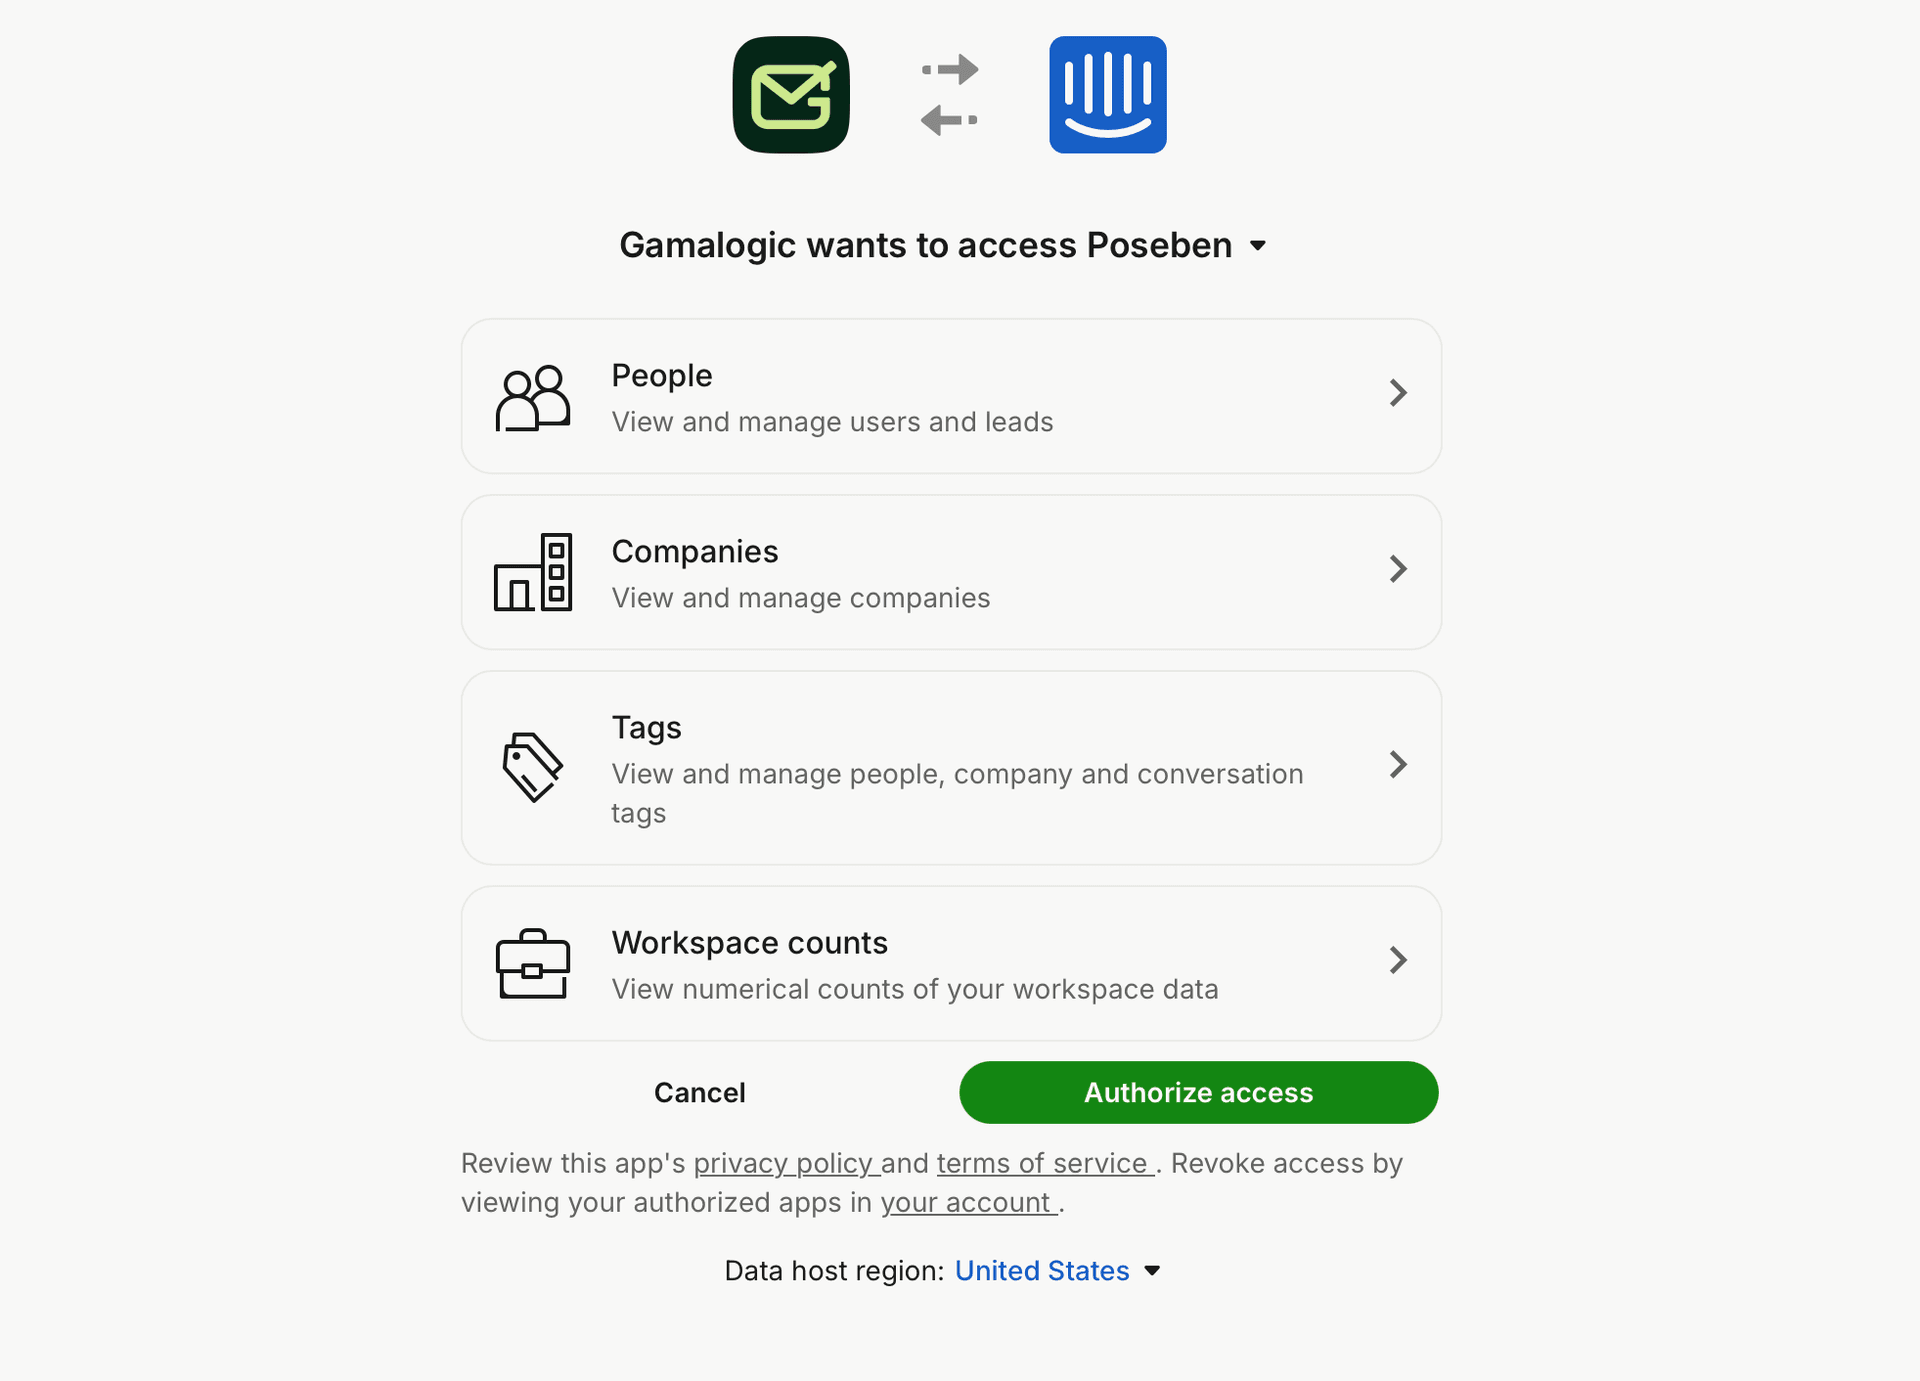
Gamalogic connects to Intercom using a secure OAuth2 authorization flow. During authentication, you are redirected to Intercom’s official login page, where you grant Gamalogic temporary access to your Intercom data. No passwords are stored, and access tokens follow Intercom’s secure expiration policies.
1. Prerequisites
Before starting the integration, ensure you have:
1.1 Gamalogic Requirements
- A Gamalogic account, if not you will have to sign up here https://app.gamalogic.com/signup
1.2 Intercom Requirements
- An Intercom account (Admin or Manager-level access recommended)
- Access to Intercom Subscribers and contact management features
2. Integration with Intercom
2.1 How Integration works?
Step 1
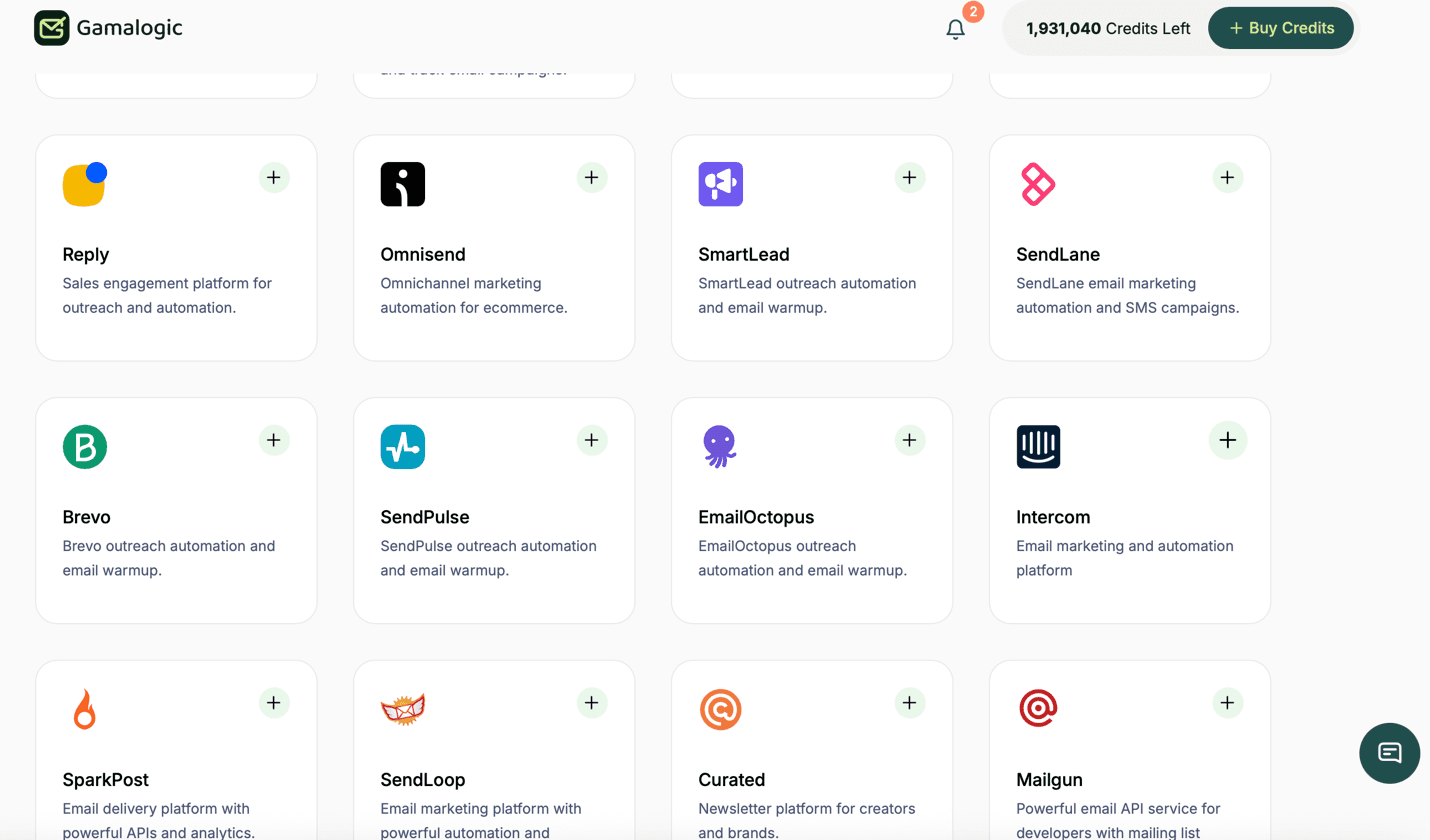
Navigate to the App Integrations section in your dashboard https://app.gamalogic.com/dashboard/integrate
Step 2
Select the Intercom application and on the + button
Step 3 - Authorize Access with Intercom
You’ll be redirected to Intercom’s secure login page, where you can enter your Intercom credentials and grant the necessary permissions for Gamalogic to access and import your contacts and subscribers. Once the authorization is complete, you’ll be automatically redirected back to your dashboard to continue your workflow seamlessly.
Step 4 - View Your Subscribers
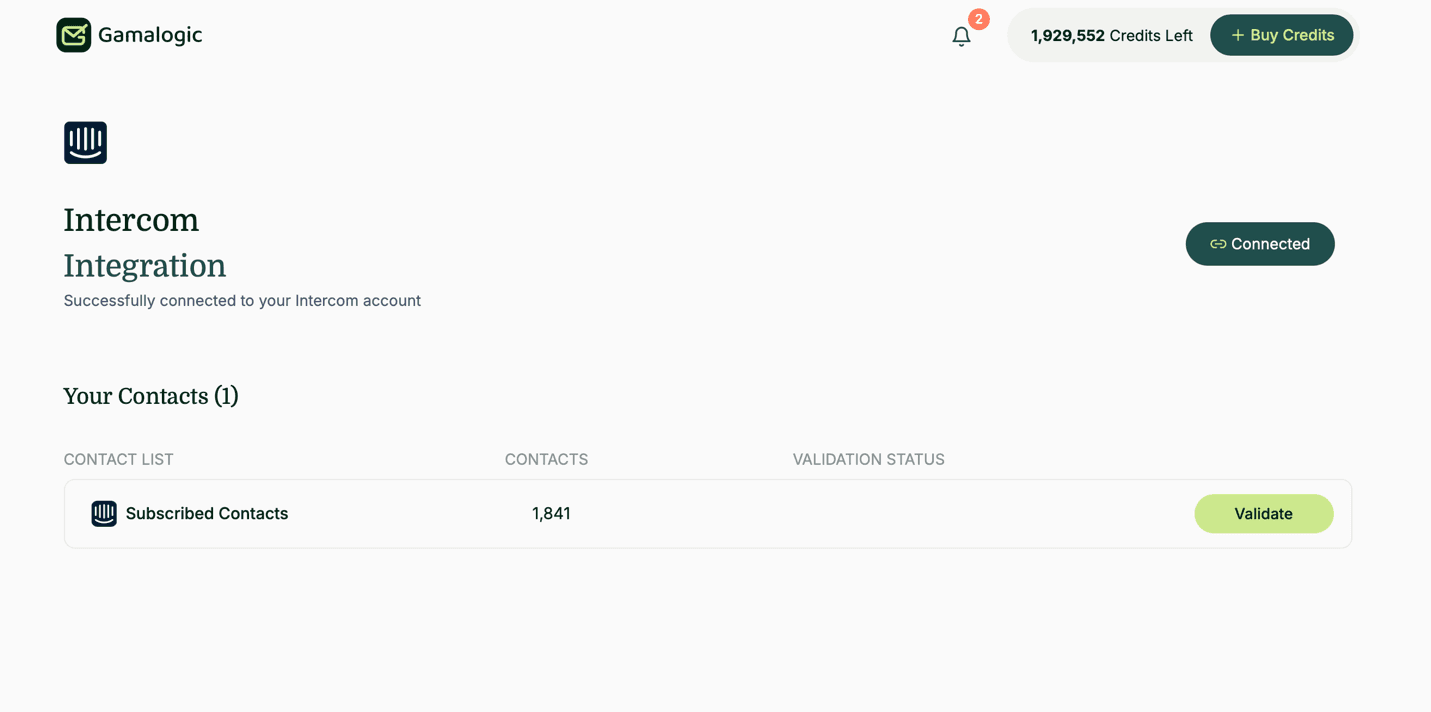
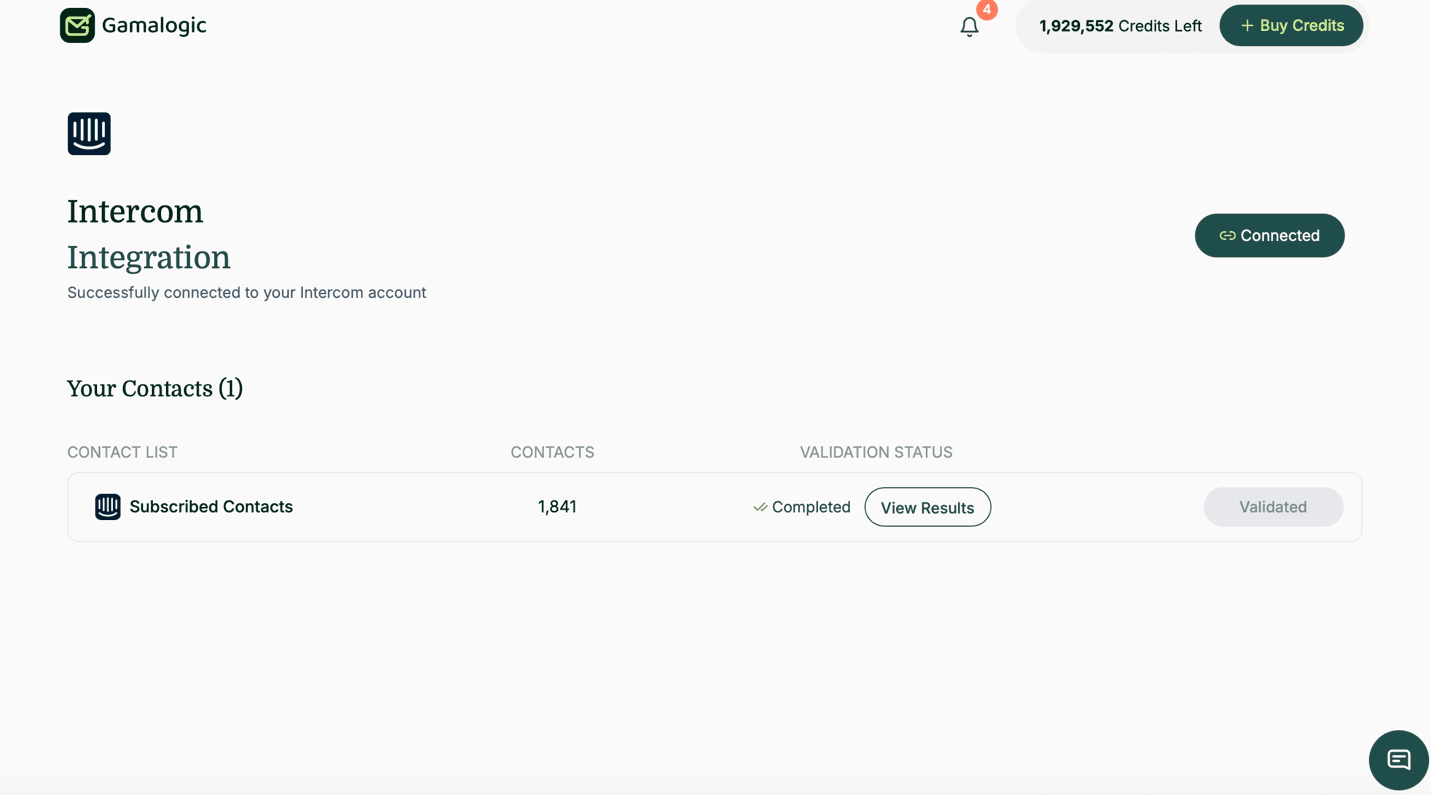
- After connection, you’ll see all your Intercom subscribers displayed with Contact count
Step 5 - Start Email Validation
-
5.1 Choose an subscriber list to Validate
- Review your subscribers and select which one to validate
-
5.2 Check Credit Requirements
- The system automatically checks if you have enough credits
- Required credits = Number of contacts in the subscribers
- If insufficient credits, you’ll be prompted to purchase more
-
5.3 Initiate Validation
- Click the “Validate” button next to your chosen subscribers
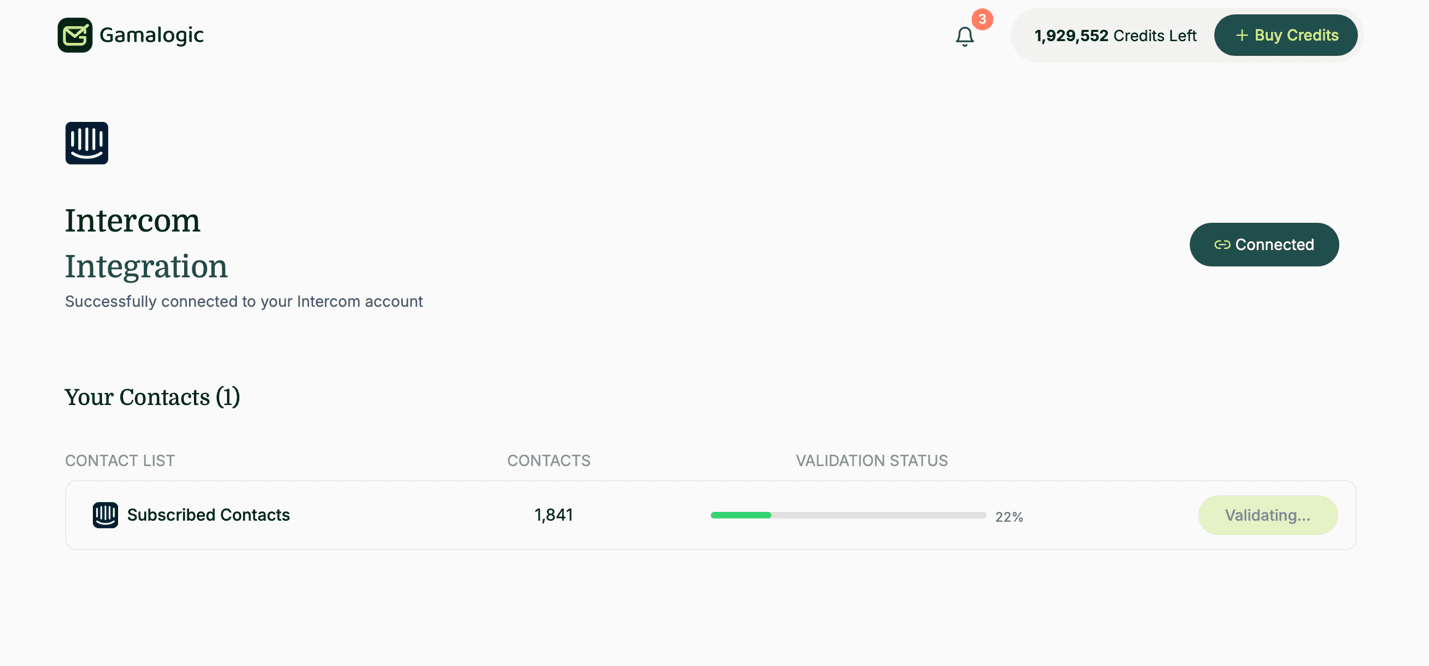
- The button will change to “Initializing”
- Validation process begins
Step 6 - Monitor Validation Progress
Real-time Monitoring:
- Progress bar shows current status
Step 7 - Automatic Cleanup & Results
What Happens When Validation Completes:
Invalid and disposable Email Handling
- Automatic unsubscribe from your original subscribers
- Email notification sent to you
Understanding the Results
When updating contacts, use these recommended fields:
| Status | Action |
|---|---|
| valid | Keep in the subscribers |
| not_valid | unsubscribed |
| is_disposable | unsubscribed |
| is_catchall | Keep in the subscribers |
| is_unknown | Keep in the subscribers |
Step 8 - Notification & Reporting
- 📧 Email confirmation when process completes
- 📊 Detailed report available in your History section
- 🔍 Download results for complete audit trail
Step 9 - Review and Next Steps
- Check Your Results
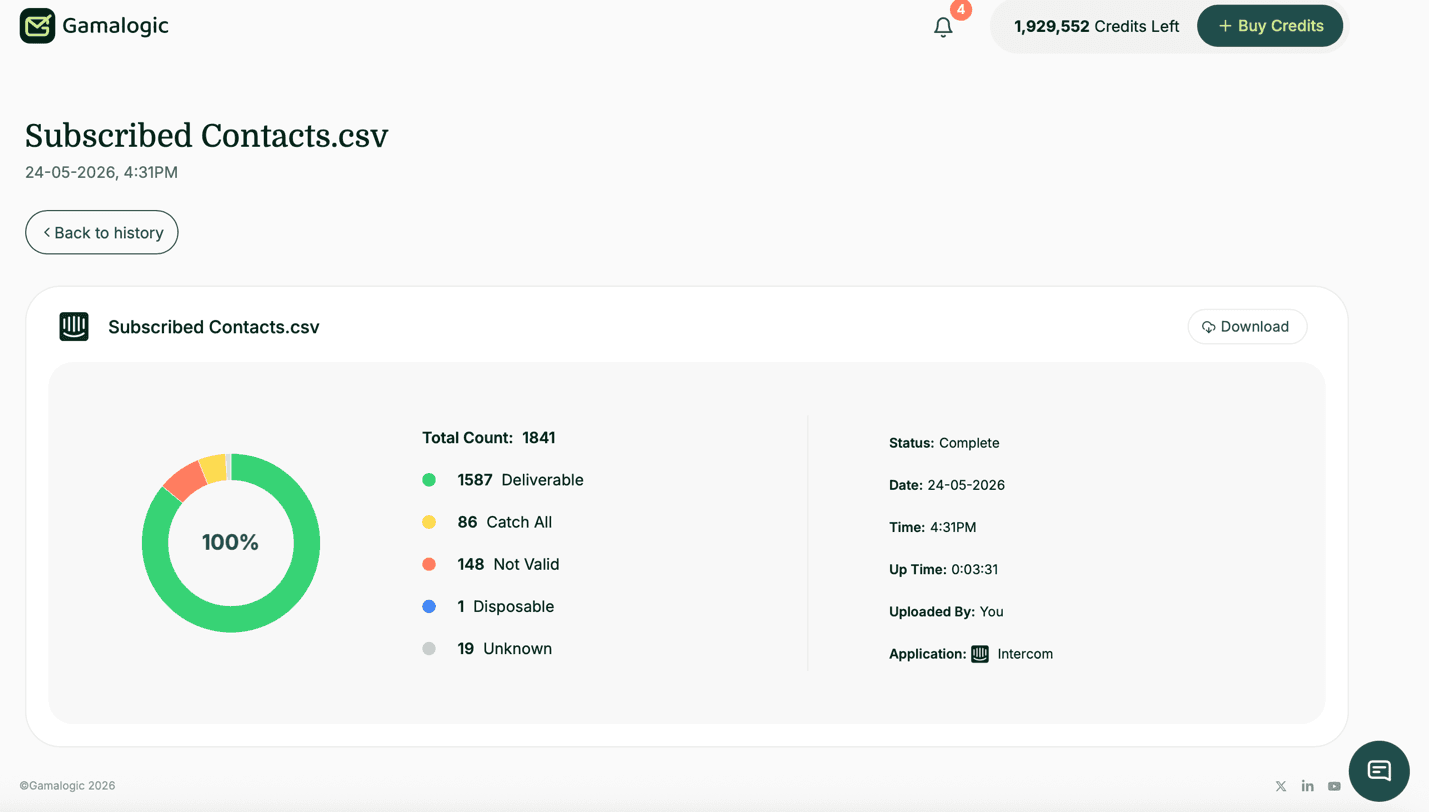
- Download CSV files with complete email by email results
- Review the unsubscribed subscribers in your Intercom account
4. Invalid and disposable Workflow
Invalid and disposable emails should automatically:
- Will marked as unsubscribed
- Will be excluded from all future campaigns
5. Reporting & Monitoring
Track:
- Validation success rate
- Percentage of invalid emails
- Disposable email patterns
- Deliverability improvements over time
Use Intercom dashboards and Gamalogic history page https://app.gamalogic.com/dashboard/history to track the details
6. Contact
For support with integration:
- Gamalogic Support: support@gamalogic.com
- Intercom Help Center